SPONSORED FEATURE
A smokey eye is the epitome of timeless glamour and understated cool. Whether you pair it with a bold red lip for a vintage look, or embrace your inner rock chick by adding a sprinkling of punk, a wash of dark grey eyeshadow can really ramp up your eye makeup any day of the year. Even though it's a look that never seems far away from the catwalk, red carpet or cover of a magazine, it's still something that evades a lot of us as we struggle knowing where to even start. It's easy to get in a muddle and end up looking more like a teenage goth than a glamorous vixen, so I've broken down the steps (with a little help from the experts) so you can nail it every single time - just in time for the new season.
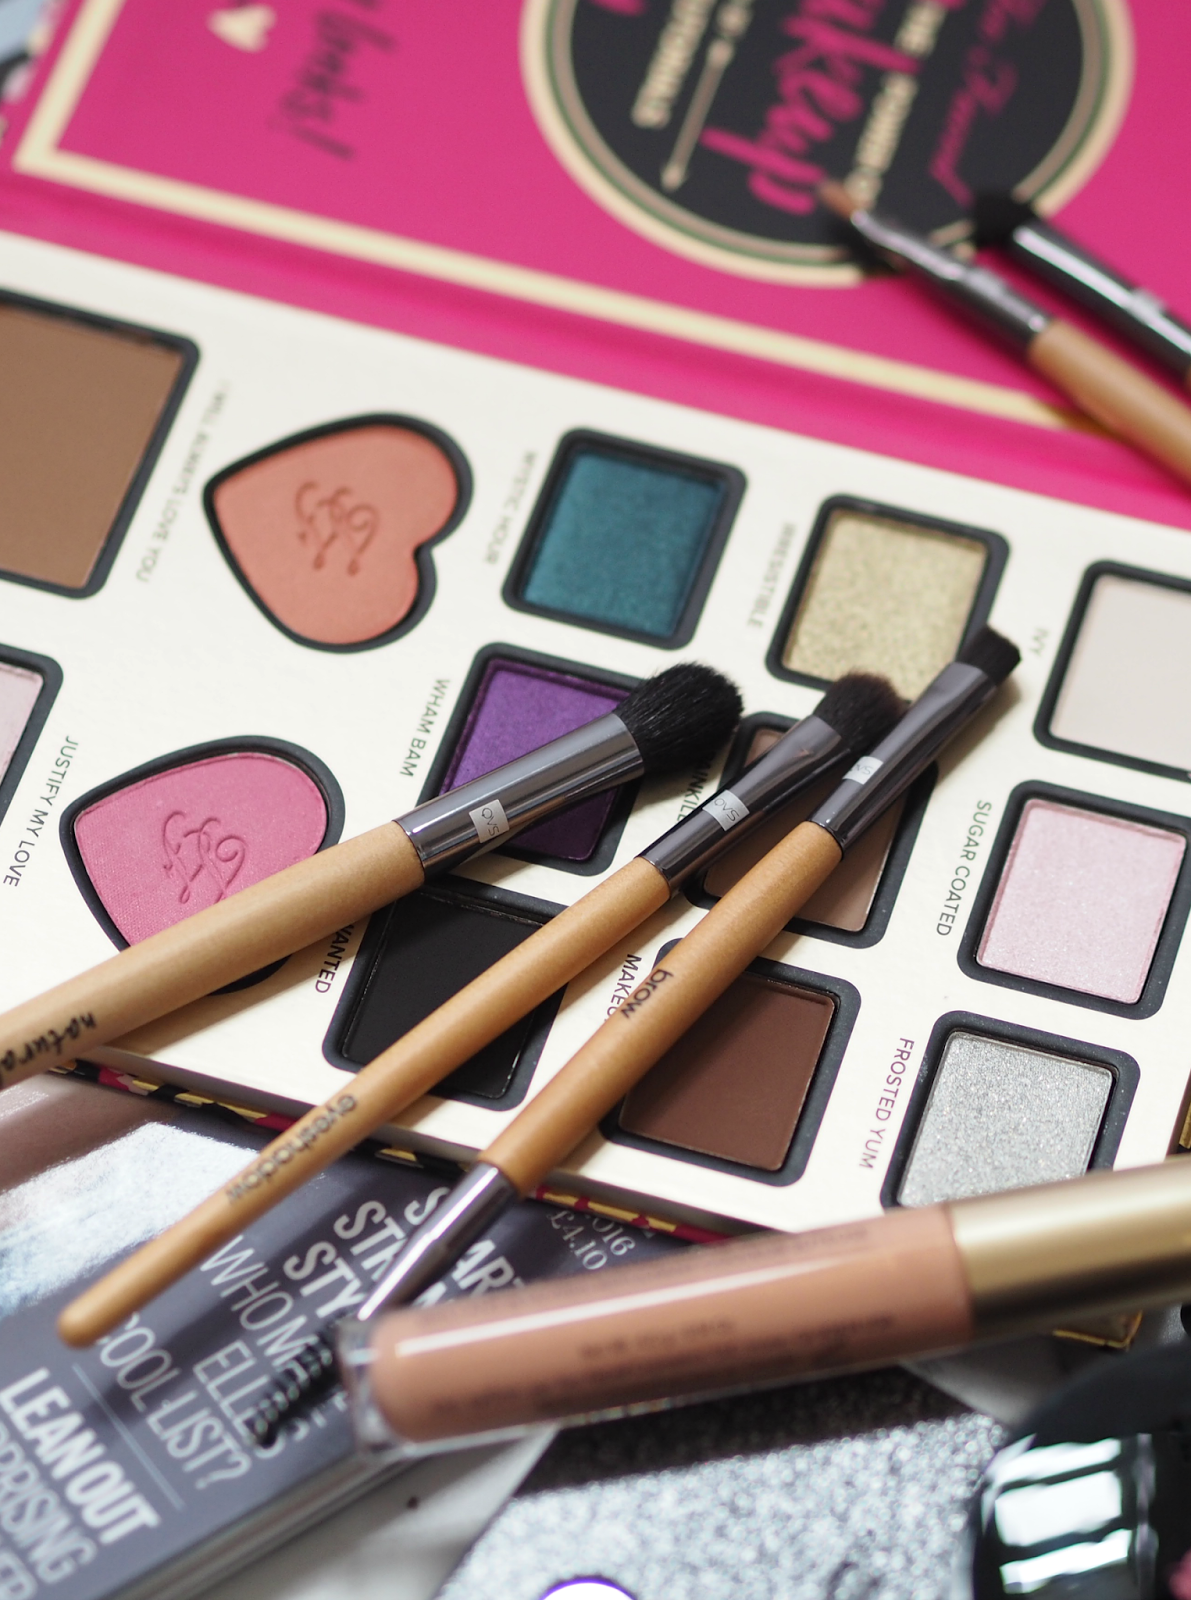
STEP ONE: Create a uniform base across the eyelid, using either a touch of your foundation and a dusting of powder (using something like the QVS Foundation & Powder Brushes,) or an eye primer. This will not only even out any colour imperfections and minimise creasing, but provide a great base on which the rest of your makeup can stick to. The most important thing is to create contrast and ensure the colours pop!
STEP TWO: Take a lighter shade of grey, black or brown eyeshadow and sweep it across your entire lid using a fluffy brush (such as QVS Eyeshadow Brush,) taking care to buff it in to the skin. This is the basis of your look and will provide a subtle difference in colour that makes the overall result seem professionally polished. My top tip is to 'stroke' the eyeshadow to lift the pigment, rather than burying into the pan in circular motions; this helps to prevent overloading of the brush and to get the pigment right into the centre of the brush, which also stops fallout onto the cheeks when you apply.
STEP THREE: Take a slightly darker shade of grey, black or brown and apply it using the same brush and technique from the outer corner of your eyelid to about half-way in; don't apply it to the inner corners otherwise the look will become too heavy. Makeup artist Daniel Sandler says: "Apply no more than two different shades of dark eyeshadow; keep it simple." At this stage don't be afraid of it looking a little messy.
STEP FOUR: Blend your shadow upward and outward, paying special attention to creating depth within the crease of your eyelid by buffing the colour in gently. Don't go too high though: you want to stop no higher than half way between your lid and brow bone, or it becomes a bit too 'Dynasty'. Daniel says: "Slowly build up the intensity of colour, remembering to blend continually." Using your fluffy brush (such as the QVS Blending Brush) in circular motions, take the eyeshadow out around the sides of the eye and subtly underneath - but don't go much further than about two thirds of the way along the lower lid. It sounds complicated, but the important thing is to start subtle and build up for a more intense smokey look.
STEP FIVE: Line the eye for definition. Daniel suggests "a soft, waterproof, dark smudgey eyeliner pencil" for maximum impact and blendability, however - if you prefer gel liner apply using an angled applicator such as the QVS Brow Brush. (Sounds strange, but I promise it works!) Take the liner all the way around the lid (both above and below) and into the waterline to ensure the whites of your eyes pop.
STEP SIX: Back to buffing. Pick up your fluffy eyeshadow brush once again (try the QVS Blending Brush) and gently buff the liner into your eyeshadow for a more smokey and 'undone' look that will look fabulous. If you feel you need more colour, add another layer of liner and buff out again. The buffing and blending is the most important part (as otherwise there's too much contrast between the shadow and liner,) so keep doing this until you're happy with the result.
STEP SEVEN: Apply a slick of jet black mascara and even a couple of brightening eye drops into the mix if you're after some added sparkle! Don't forget your brows: brush them into place with a spoolie brush (like the QVS Brow Brush) or old mascara wand, filling them in with a little gel or pencil to ensure your overall eye look is fabulous. If you've got a little fallout on the tops of your cheeks, buff it away with a big fluffy powder brush (such as the QVS Powder Brush) that's been dipped into a touch of loose powder.
My top tips are to practice, be patient and build up gradually; smokey looks aren't supposed to be perfect, but they are supposed to create impact. Also, don't panic until you've created the overall look, as sometimes it can look very odd until you've added a slick of mascara over the top. Most importantly: have fun with it!
Fancy honing your makeup skills at home with the help of a few handy and affordable tools? QVS have kindly given me five goodie bags bursting with some of their best selling and most exciting products (including the Essential Eye Set, Foundation Brush, Flat Top Blusher Brush, Eyelash Curler, Bronzer Brush, Powder Brush and Natural Look Lashes) to give away to five lucky readers. Fancy nabbing one? Enter via the widget below!


a Rafflecopter giveaway
QVS makeup brushes are available online and in store via ASDA and Tesco, as well as via Amazon. There are also a huge selection of beauty tools and accessories available, starting from £2.50.
This is a sponsored post on behalf of QVS; all opinions and recommendations my own.
Features PR samples unless otherwise stated. To read my full disclaimer, click here.
